How to Install Xcode on Windows: Step-by-Step Guide
Xcode is Apple’s official IDE for developing iOS, iPadOS, macOS, watchOS, and tvOS apps. However, Xcode is only officially available on macOS. Many Windows users still want to develop iOS apps, so there are workarounds that make this possible.
While Apple doesn’t officially support Xcode on Windows, developers use virtual machines, cloud solutions, or cross-platform tools to achieve the same results. Here’s a beginner-friendly guide to help you install or access Xcode on a Windows PC.
1. Use a Mac Virtual Machine on Windows
Total Time: 30–60 minutes (depending on setup)
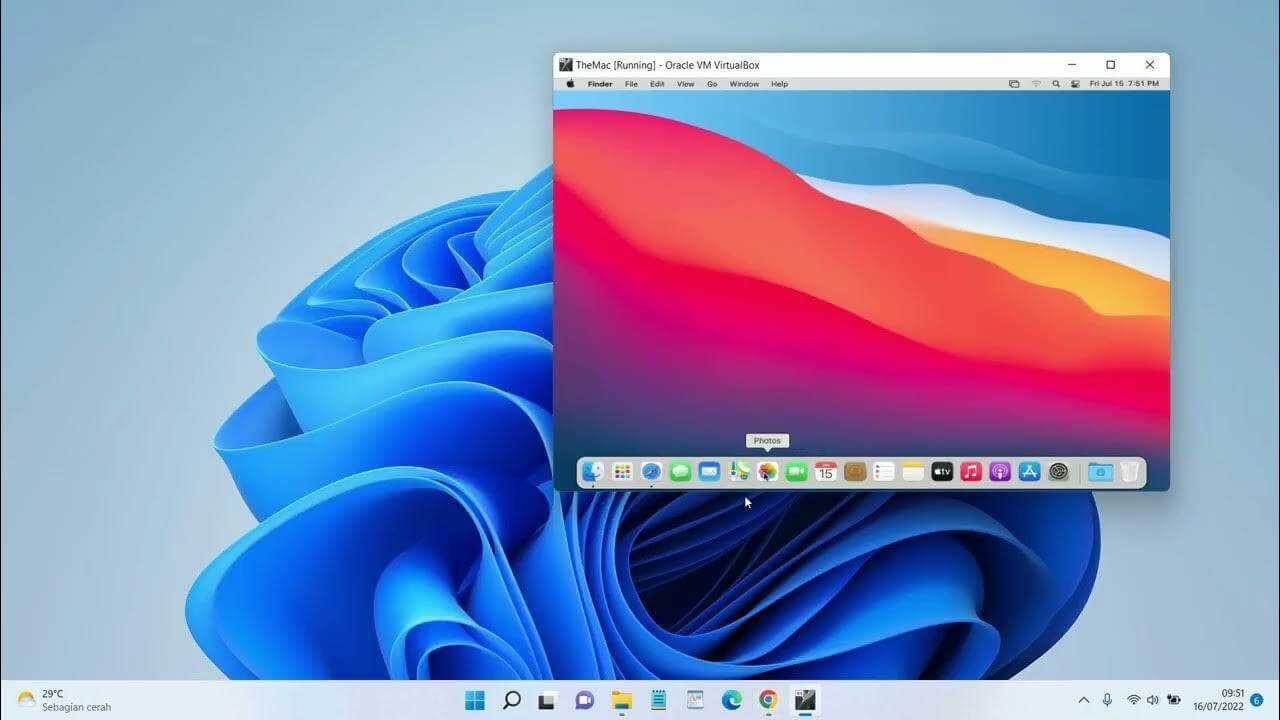
A virtual machine (VM) lets you run macOS on your Windows PC, giving you full access to Xcode as if you were on a Mac. This method provides a native macOS experience but requires a capable PC.
- Download a macOS Virtual Machine
Get a macOS image compatible with your VM software (e.g., VMWare or VirtualBox).
- Install Virtual Machine Software
Install VMWare Workstation or Oracle VirtualBox on your Windows PC.
- Set Up macOS in the VM
Follow the VM software instructions to create a new virtual machine and attach the macOS image.
- Boot macOS
Start the VM and complete the macOS setup process.
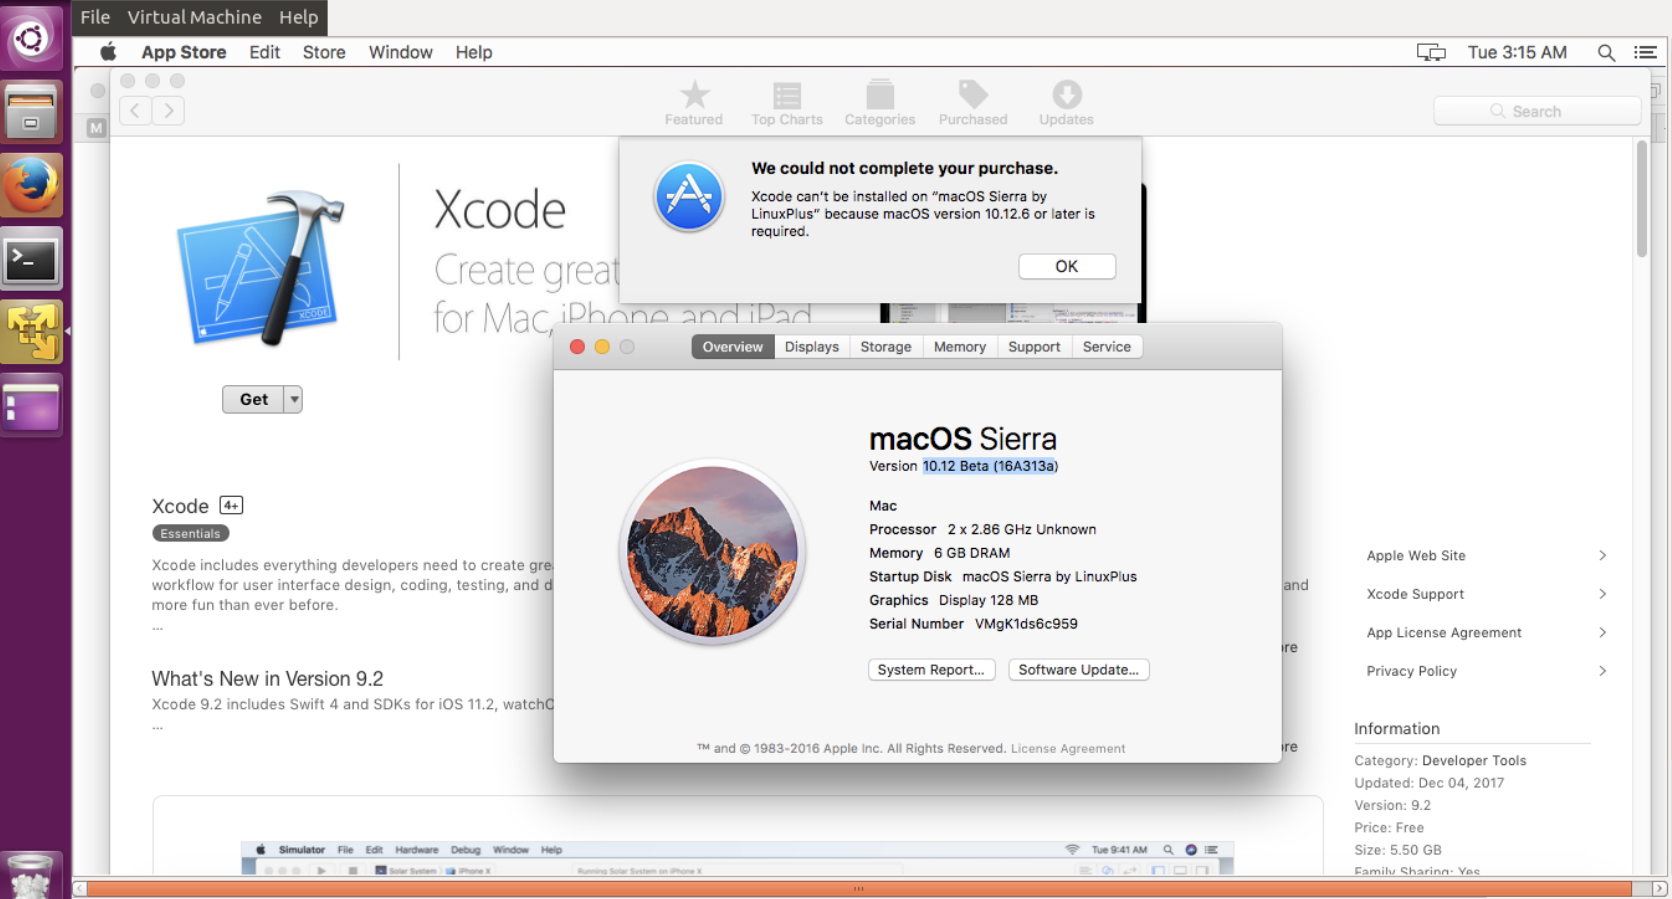
- Install Xcode
Open the App Store in your virtual macOS and download Xcode.
- Launch Xcode
Once installed, you can now use Xcode to develop apps on your Windows PC.
2. Use a Cloud Mac Service
Cloud Mac services provide a remote macOS environment where you can access Xcode without installing macOS locally. Popular options include MacStadium, XcodeCloud, or MacInCloud. You get a real Mac in the cloud, compatible with the latest Xcode and macOS versions.
- Choose a cloud Mac provider and create an account
- Select a macOS version with Xcode support
- Connect from your Windows PC via Remote Desktop or web client
- Launch Xcode and start development

3. Use a Cross-Platform Tool (Alternative Method)
If you don’t want to run a full macOS VM, you can use cross-platform development frameworks that work on Windows and can compile iOS apps through a cloud Mac build system.
Popular Tools:
- Flutter – Build iOS apps on Windows, then compile on a cloud Mac.
- React Native – Write apps on Windows; build for iOS with a Mac server.
- Codemagic – Cloud-based CI/CD for iOS builds.
What to do:
- Install Flutter or React Native on Windows
- Write your app code using Windows editor (VS Code recommended)
- Configure a Mac cloud build or CI/CD service
- Compile and submit the app to the App Store
4. Use Hackintosh (Advanced and Risky)
A Hackintosh is a PC running macOS natively. This allows you to install Xcode directly on your hardware without virtualization.
Warning:
This method is not officially supported and can be unstable. Only attempt if you’re comfortable with technical setups and troubleshooting macOS on non-Apple hardware.
- Check your PC hardware compatibility for macOS
- Create a macOS bootable USB
- Install macOS on a separate partition
- Boot into macOS and download Xcode from the App Store
Common Problems
- macOS VM runs slowly on low-spec PCs
- Cloud Mac subscription costs
- Hackintosh stability issues
- Xcode updates may fail in non-Mac environments
Tips
- Use a powerful PC with at least 16GB RAM for VM
- Always update Xcode on macOS
- For cloud Mac, check latency before subscribing
- Backup your code regularly
FAQs?
No, Xcode is macOS-only. You need a VM, cloud Mac, or Hackintosh.
Technically, Apple only licenses macOS on Apple hardware. VM use is a gray area.
Cloud Mac services like MacStadium or MacInCloud are the simplest and safest.
Yes, via a cloud Mac or Hackintosh setup.
Yes, but you still need macOS for compiling and App Store submission.


0 Comments