Forgot iPad Passcode? 5 Ways to Unlock Your iPad
If you forgot your iPad passcode, you will not be able to access the device until it is reset. Apple protects user data by locking the iPad after multiple incorrect attempts, which may eventually disable the device. The only reliable solution is to erase the iPad and set it up again.
This guide explains how to unlock an iPad when you forget the passcode. You will learn how to use Recovery Mode, Finder, iTunes, and iCloud to erase the device and restore access. Before starting, make sure you remember your Apple ID credentials, which are required to activate the iPad again. If you are unsure about them, follow the steps in this guide on finding your Apple ID password without resetting it first.
What Happens When You Forget Your iPad Passcode?
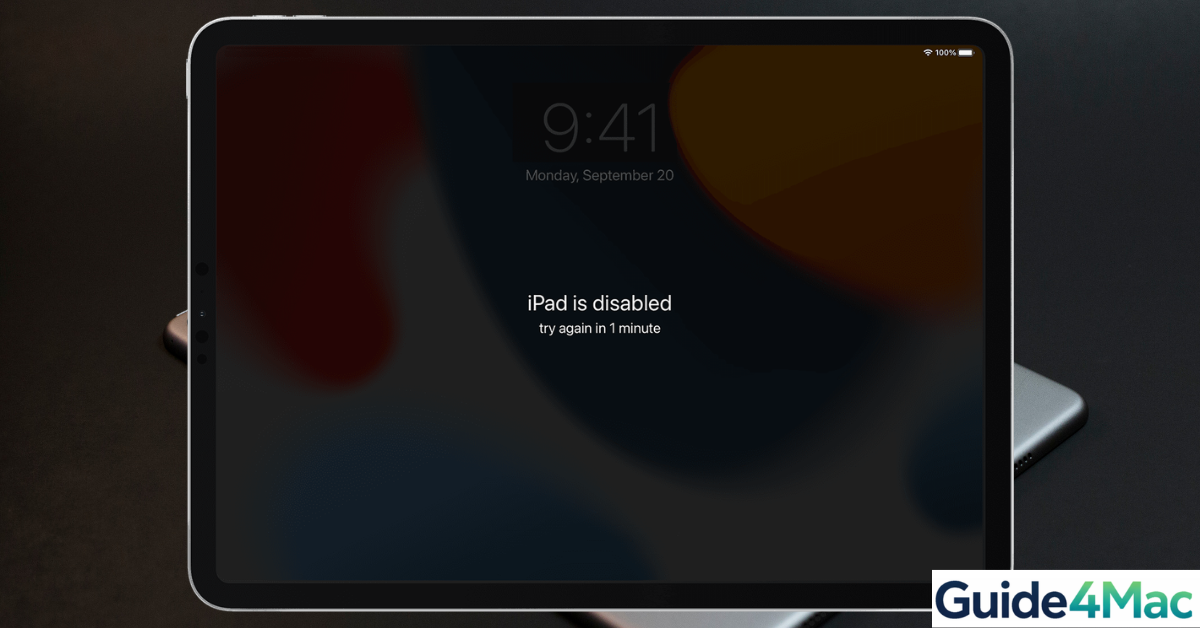
When the wrong passcode is entered several times, the iPad becomes temporarily disabled. After too many failed attempts, you may see messages like “iPad Unavailable” or “Security Lockout.”
At this point, Apple requires the device to be erased before it can be used again. This security measure protects your personal data stored on the device, including photos, messages, and account information.
Below are the most reliable ways to regain access to your iPad.
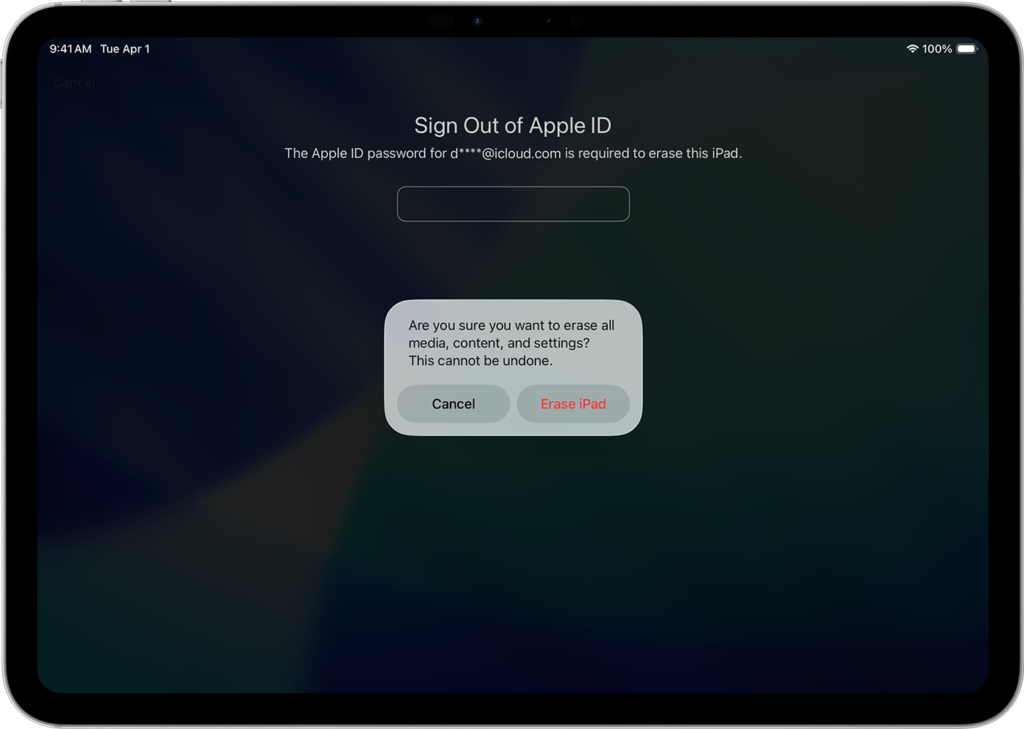
1. Use the Erase iPad Option on the Lock Screen
Newer iPadOS versions allow you to erase the device directly from the lock screen if you remember your Apple ID password.
- Enter the wrong passcode several times.
- Wait until Erase iPad appears on the screen.
- Tap Erase iPad.
- Confirm the action.
- Enter your Apple ID password.
- Wait for the device to reset.
After the reset finishes, you can set up the iPad again and restore data from an iCloud backup if one exists.
If you previously created backups, you can restore them using the steps explained in this guide on how to back up an iPhone, which follows a similar iCloud backup process for iPad.
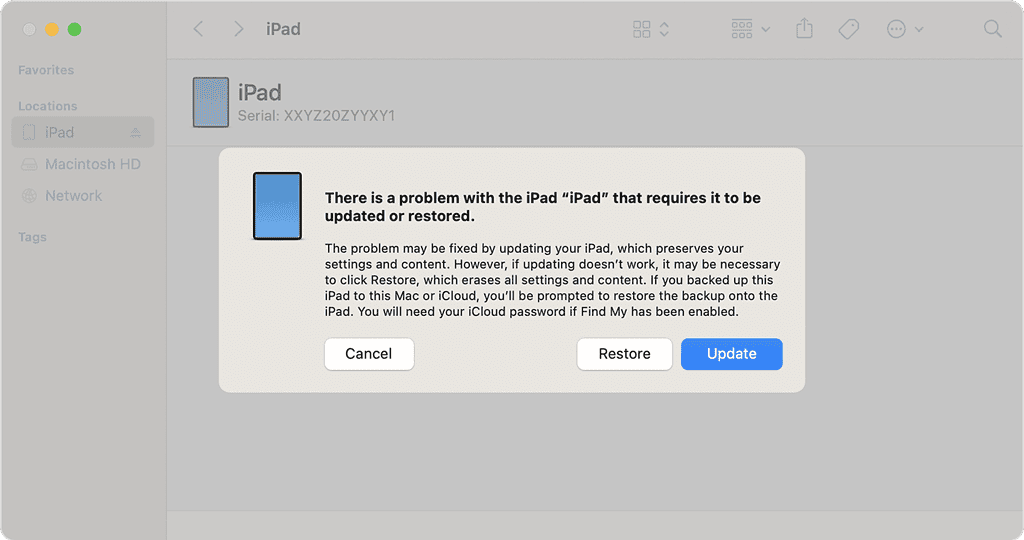
2. Unlock the iPad Using Recovery Mode
If the Erase iPad option does not appear, you can use Recovery Mode to erase the device.
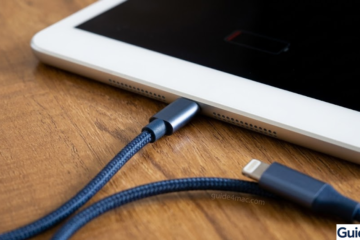
- Connect the iPad to a computer using a cable.
- Open Finder on macOS or iTunes on Windows.
- Turn off the iPad.
- Press and hold the top button while connecting the device to the computer.
- Keep holding the button until the Recovery Mode screen appears.
Once the device enters Recovery Mode:
- Locate the iPad in Finder or iTunes.
- Click Restore.
- Confirm the restore process.
- Wait for iPadOS to reinstall.
- Set up the iPad again.
This method removes the passcode and installs the latest version of iPadOS.
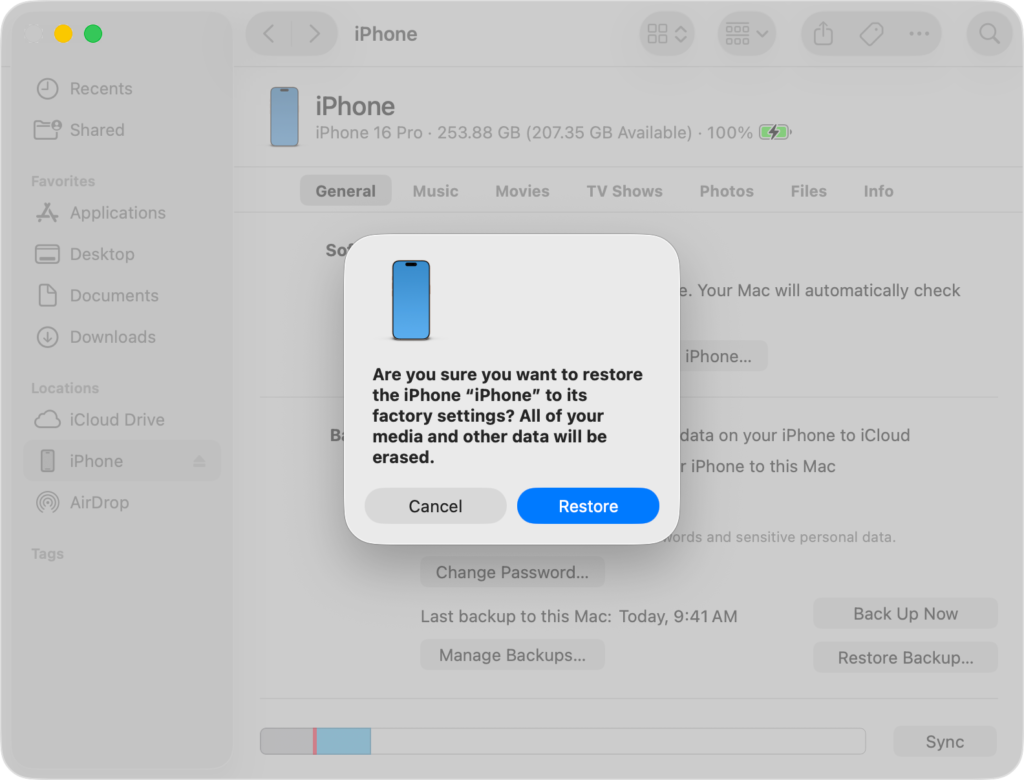
3. Use Finder on a Mac to Restore the iPad
Modern versions of macOS use Finder instead of iTunes to manage iOS and iPadOS devices.
- Connect your iPad to the Mac using a cable.
- Open Finder.
- Select your iPad in the sidebar.
- Click Restore iPad.
- Confirm the action.
- Wait for the restore process to complete.
After restoring the device, you can log in with your Apple ID and restore your data from a backup.
4. Restore the iPad Using iTunes on Windows
Windows users can restore the device using iTunes.
- Install the latest version of iTunes on your PC.
- Connect the iPad to the computer.
- Open iTunes.
- Put the iPad into Recovery Mode.
- Click Restore iPad when prompted.
- Wait for the process to finish.
Once the restore completes, the device will restart and display the setup screen.
5. Erase the iPad With Find My
If Find My was enabled before the device was locked, you can erase it remotely through iCloud.
- Open iCloud.com in a browser.
- Sign in with your Apple ID.
- Click Find Devices.
- Select your iPad.
- Click Erase iPad.
- Confirm the erase request.
After the erase finishes, you can set up the device again and restore your data.
If you are unsure whether your Apple account still works correctly, reviewing this guide on signing into your Apple account may help verify your credentials before restoring the device.
Tips
• Always keep a recent iCloud or computer backup.
• Store your passcode securely in a password manager.
• Enable Find My iPad for remote recovery options.
• Use a memorable passcode that is still secure.
• Avoid repeated incorrect passcode attempts to prevent lockouts.
Getting Your iPad Back to Normal
Forgetting an iPad passcode can feel stressful, but Apple provides several ways to regain access safely. Whether you use the Erase option on the lock screen, Recovery Mode, Finder, or iCloud, the goal is the same: erase the device and set it up again.
Once the iPad is restored, signing in with your Apple ID allows you to recover data from backups and continue using the device normally.
Key Takeaways
If you forget your iPad passcode, the device must be erased before it can be unlocked again. Apple provides multiple recovery methods including the lock screen erase option, Recovery Mode, Finder, iTunes, and iCloud’s Find My service.
After resetting the device, you can restore your apps and data from backups and regain full access to your iPad.
FAQs
No. Apple requires the device to be erased to remove a forgotten passcode.
Yes, unless you previously created an iCloud or computer backup.
It is a built-in feature in recent iPadOS versions that allows users to erase the device directly from the lock screen.
Yes. Apple requires the Apple ID used on the device to activate it again after a reset.
Apple cannot bypass the passcode, but they can guide you through the official recovery process.
0 Comments