iOS 26 Camera App Redesign: Where Is Everything and How to Use It
The iPhone Camera app changed in iOS 26, introducing a redesigned interface and new controls that make it easier to access common photography features. Apple simplified the layout while adding faster ways to switch modes, adjust settings, and capture photos or videos.
This guide explains how the new Camera app works in iOS 26 and how to use its updated features effectively. You will learn how to navigate the interface, change camera modes, access advanced controls, and customize your shooting experience. If you also want to improve your photography results, you can explore additional tips in this guide about the best iPhone 17 camera settings.
What Changed in the iPhone Camera App in iOS 26?
Apple redesigned the Camera app in iOS 26 to simplify navigation and reduce visual clutter. The update focuses on faster access to shooting modes and clearer controls for adjusting settings like exposure, flash, and depth.
Instead of digging through menus, most options now appear directly within the camera interface. This allows users to adjust settings without leaving the viewfinder.
Below are the main changes and how to use them.
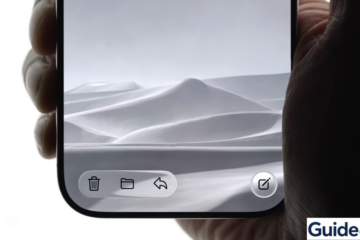
1. Navigate the New Camera Interface
The first thing you will notice in iOS 26 is the updated layout.
- Open the Camera app.
- Look at the mode bar at the bottom of the screen.
- Swipe left or right to change modes.
- Tap the shutter button to capture a photo or video.

The simplified interface places most controls within easy reach while keeping the viewfinder clear.
2. Switch Between Camera Modes
Camera modes are still located at the bottom of the screen but are easier to access.
- Open the Camera app.
- Swipe the mode bar.
- Select the desired mode.
Common modes include:
• Photo
• Video
• Portrait
• Panorama
• Cinematic
Each mode automatically adjusts camera settings for the type of photo or video you want to capture.
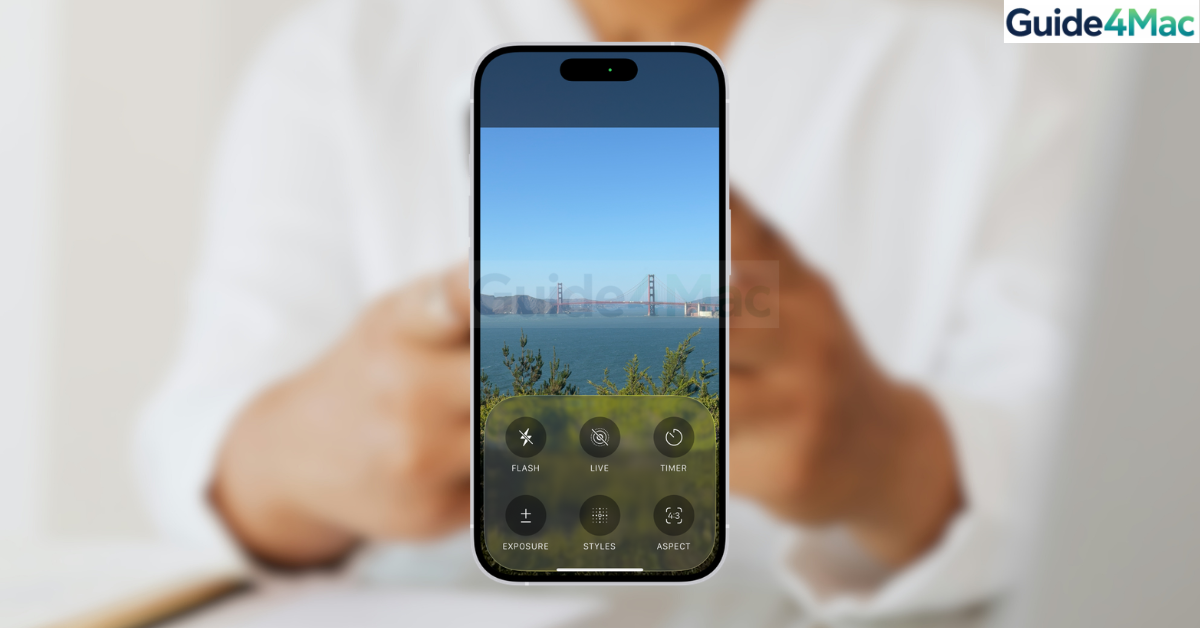
3. Access Quick Camera Controls
In iOS 26, many settings appear directly above the shutter button.
- Open the Camera app.
- Tap the arrow icon at the top of the screen.
- View the quick controls menu.
- Adjust the available options.
Available settings may include:
• Flash
• Night Mode
• Live Photo
• Exposure
• Aspect ratio
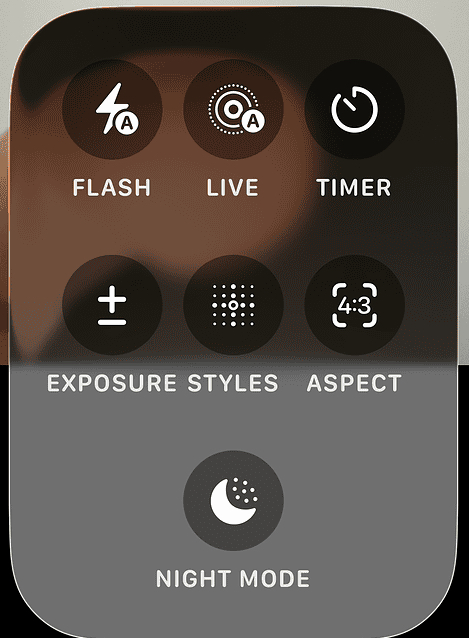
This makes it easier to change settings without navigating deeper menus.
4. Use Portrait Mode
Portrait Mode creates professional-looking photos with blurred backgrounds.
- Open the Camera app.
- Swipe to Portrait mode.
- Position the subject in the frame.
- Adjust the depth slider if available.
- Tap the shutter button.

This feature works best when the subject is a few feet away from the camera.
If you want more control over portrait photography, you can also explore this guide on using Portrait Mode on iPhone.
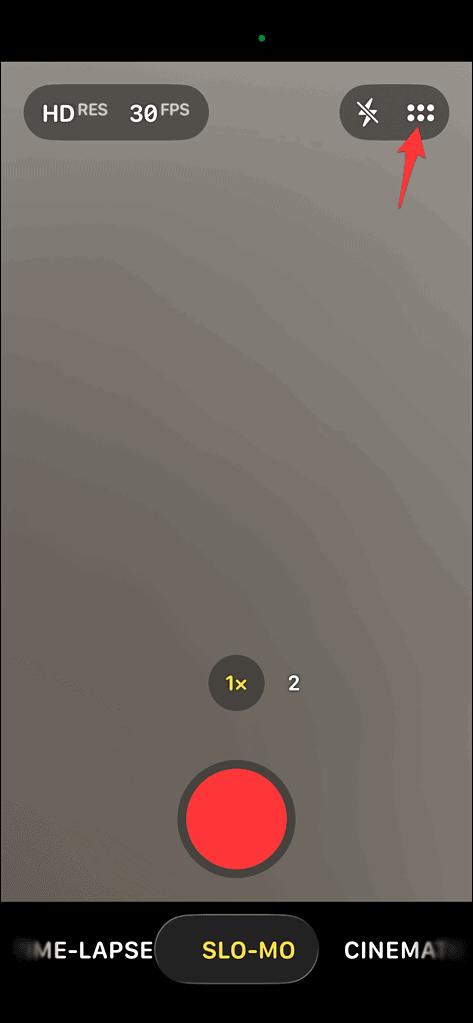
5. Record Video in the Updated Interface
Video recording works similarly but includes updated controls.
- Open the Camera app.
- Swipe to Video mode.
- Tap the record button.
- Tap again to stop recording.
You can switch lenses or zoom while recording by using the on-screen controls.
6. Adjust Exposure and Focus
Manual adjustments are easier in the redesigned interface.
- Open the Camera app.
- Tap on the subject in the viewfinder.
- Drag the exposure slider up or down.
- Hold the screen to enable AE/AF Lock.
This helps you capture properly balanced photos in bright or low-light environments.
7. Customize Camera Settings
Additional camera preferences are available in the Settings app.
- Open Settings.
- Scroll down and tap Camera.
- Adjust available options such as:
- Grid lines.
- Formats.
- Video resolution.
These settings allow you to optimize the camera for your preferred shooting style.
Tips
• Use grid lines to improve photo composition.
• Enable Live Photo for short motion clips.
• Tap to focus before taking photos.
• Use Night Mode in low light.
• Hold the phone steady for sharper images.
Master the New iOS 26 Camera Interface
The updated Camera app in iOS 26 focuses on speed, simplicity, and easier access to common photography tools. By placing controls directly within the interface, Apple makes it faster to adjust settings and capture moments without navigating complex menus.
Once you become familiar with the redesigned layout, switching between modes, adjusting exposure, and capturing photos becomes much quicker and more intuitive.
Key Takeaways
The iOS 26 Camera app introduces a redesigned interface that simplifies navigation and places more controls directly on the screen. Users can quickly switch modes, adjust exposure, and access camera features without leaving the viewfinder.
With the improved layout and easier controls, capturing photos and videos on iPhone becomes faster and more user-friendly.
FAQs
Apple redesigned the interface to simplify controls and make camera modes easier to access.
Camera modes are still located at the bottom of the screen and can be switched by swiping left or right.
Tap the screen to focus and drag the exposure slider up or down.
Video recording works similarly but includes improved controls for zoom and settings.
Yes. Portrait Mode remains available and works the same way as in previous versions of iOS.

0 Comments