How to Create a New Apple ID on iPhone (Easy Guide)
Setting up a new Apple ID on your iPhone is essential for accessing iCloud, the App Store, iMessage, FaceTime, and Apple Music. Whether you’re new to Apple devices or want a separate account for personal or work use, this guide will walk you through every step, making the process quick and easy.
How to Create a New Apple ID on iPhone
Yoast How-To: Create Apple ID Step-by-Step
Time needed: 9 minutes
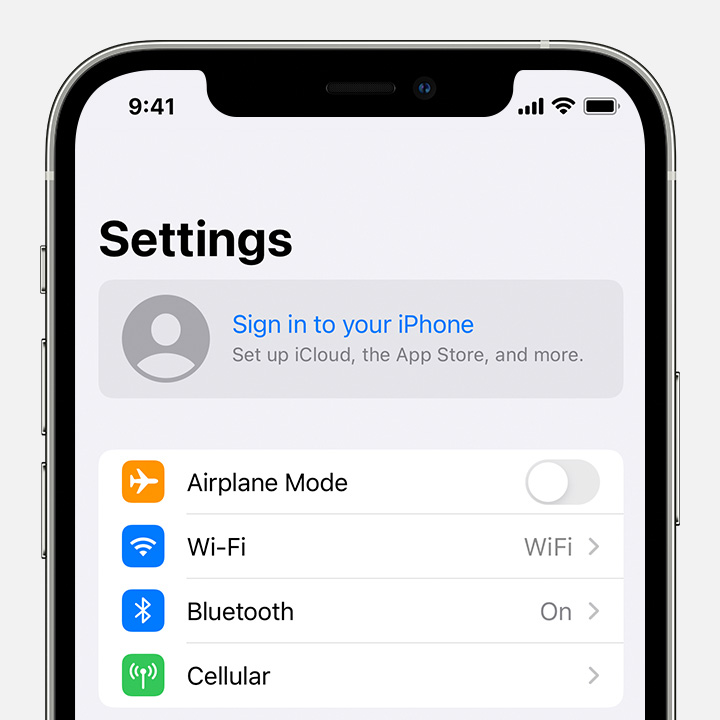
- Open Settings and Start the Setup
Open the Settings app and tap Sign in to your iPhone at the top. If you’re already signed in with another Apple ID, sign out first by going to Settings > [Your Name] > Sign Out.

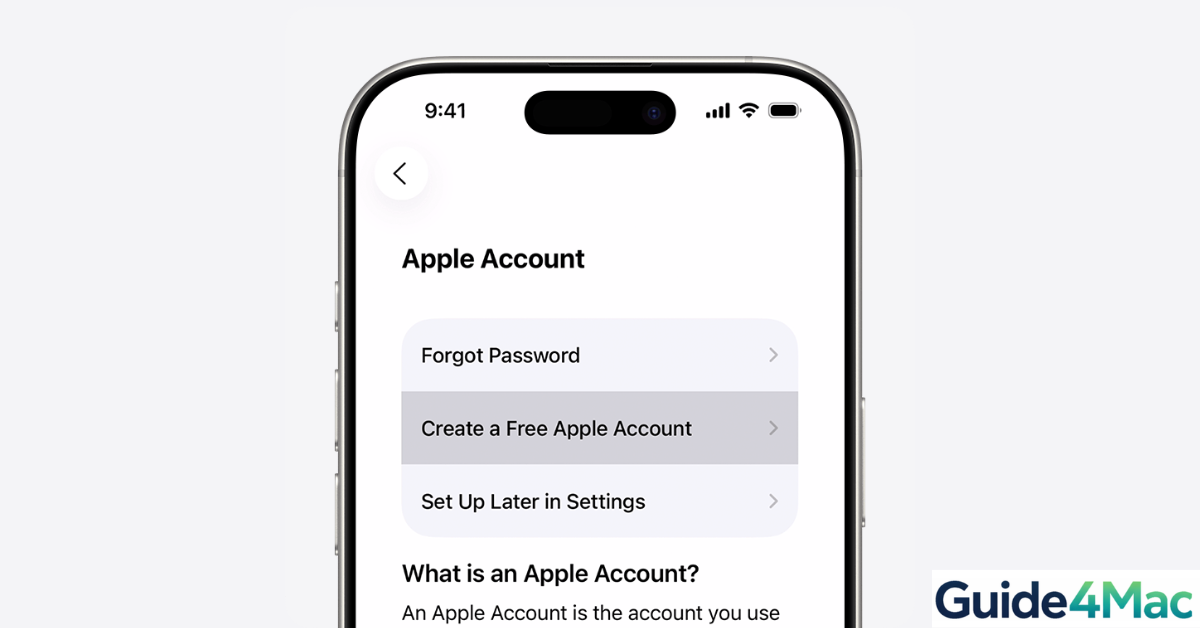
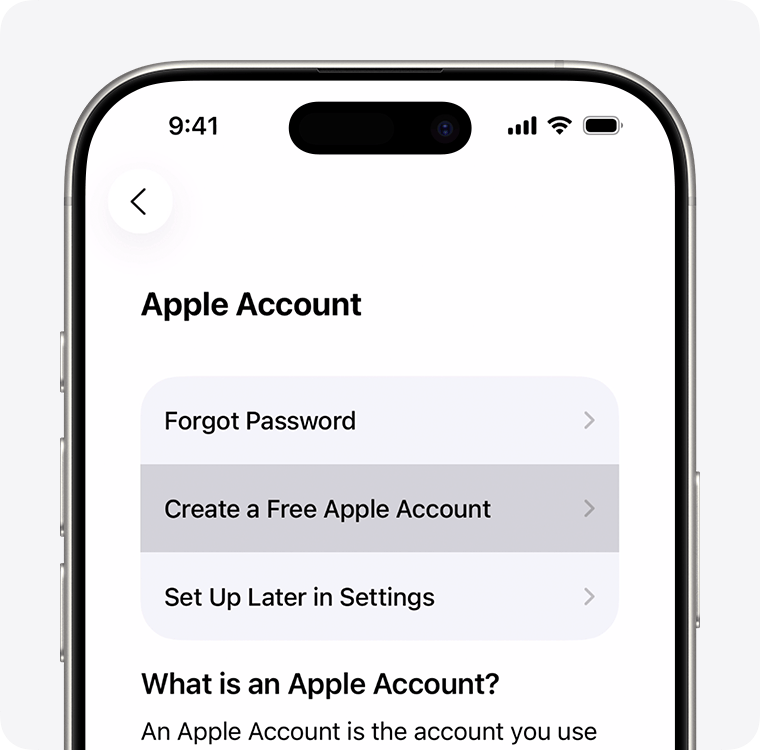
- Choose “Create New Apple ID”
Tap Create New Apple ID. You’ll be prompted to enter your date of birth and full name. Make sure the information matches your official documents to avoid issues later.
- Enter Email Address
Provide an email address you have access to. You can use an existing email or create a free iCloud email. This will be your Apple ID login.
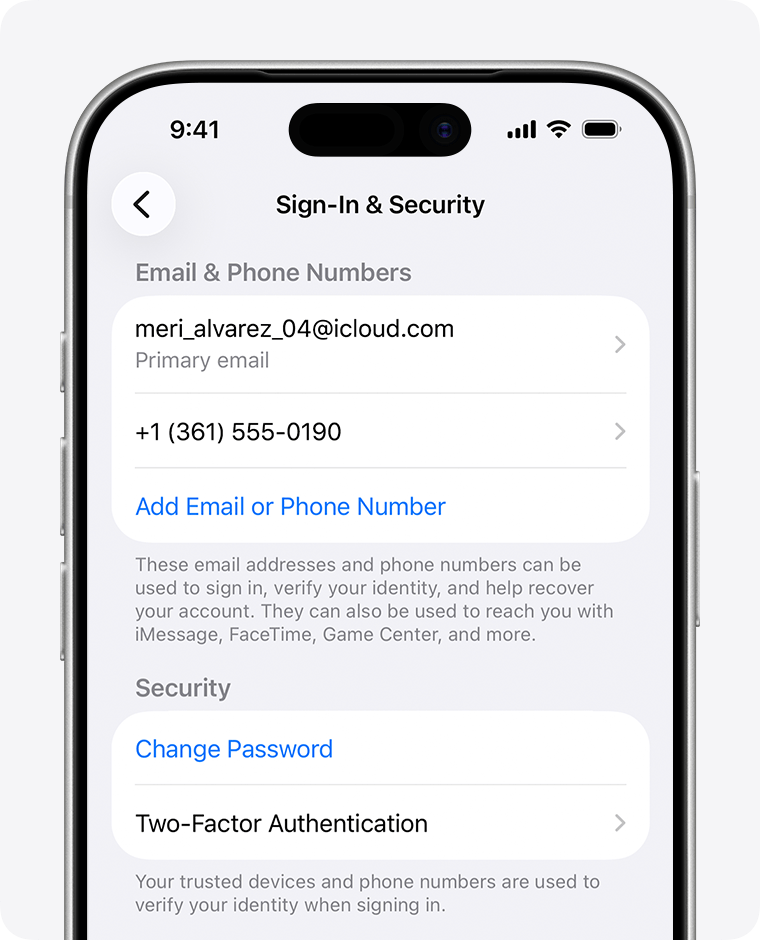
- Create Password and Security Settings
Set a strong password with uppercase, lowercase, numbers, and symbols. Then, provide a trusted phone number for two-factor authentication and account recovery.
- Add Payment Information (Optional)
You can enter a payment method to use Apple services or select None if you want to skip this step. You can add payment details later in Settings.
- Verify Your Email
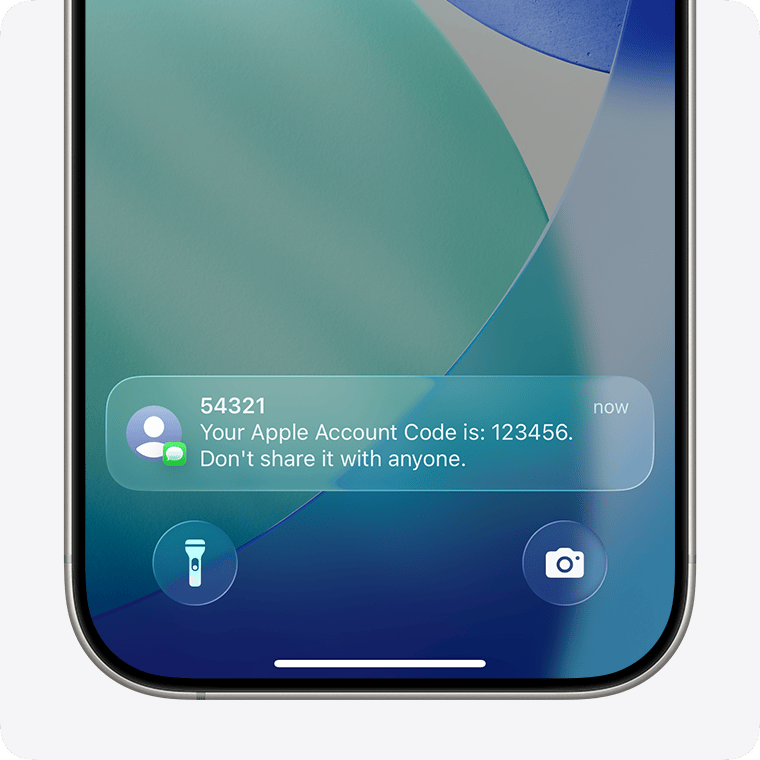
Apple will send a verification code to the email you provided. Enter this code to complete the account setup.
- Sign In and Sync iCloud
Once verified, sign in with your new Apple ID. Enable iCloud, App Store, iMessage, FaceTime, and other Apple services to keep your data synced across devices.
Common Problems When Creating an Apple ID
- Cannot Create Apple ID: If you see an error, check your internet connection, verify that the email isn’t already used, or confirm your date of birth.
- Verification Code Not Received: Check your email spam folder or resend the code. Make sure the email address is typed correctly.
- Payment Method Errors: If Apple doesn’t accept your card, select None and continue. You can add a valid payment method later in Settings.
- Device Already Linked: You can only use one iCloud account per device at a time. Sign out of any existing account before creating a new one.
Helpful Tips for a Smooth Setup
- Use an email you access regularly for verification and recovery.
- Enable two-factor authentication immediately to secure your account.
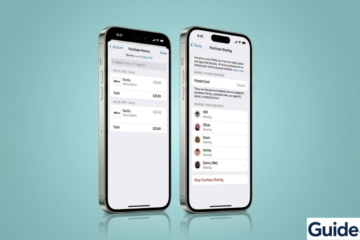
- For family members, consider Family Sharing to share purchases and subscriptions.
- If you’re switching accounts on iPhone or iPad, removing old Apple IDs ensures clean setup.
- Keep your device updated to the latest iOS version for smooth Apple ID integration.
Creating a new Apple ID on iPhone works seamlessly with other devices too. You can also add an email account to iPhone to keep your communication fully synced across Apple services.
FAQs (People Also Ask)
Yes, but only one iCloud account can be active at a time. You can use a second ID for the App Store or iTunes.
Yes, select None during setup. Payment info can be added later.
This may happen due to daily limits, Wi-Fi issues, or using an email already associated with an Apple ID.
Apple sends a verification code to your email. Enter it in the app to complete setup.
No, Apple IDs cannot be merged. You’ll need to choose one as primary for purchases and iCloud data.

0 Comments