How to Use Migration Assistant: Move Data to Your New Mac (2026)
If you want to transfer files, apps, and settings to a new Mac, Apple Migration Assistant is the easiest and most reliable tool available. It allows you to move your entire user account, documents, applications, and system settings from an older Mac, Windows PC, or Time Machine backup.
This built-in macOS utility simplifies the process when upgrading to a new MacBook Air, MacBook Pro, iMac, or Mac Studio. If you are setting up a new device and want to avoid copying files manually, Migration Assistant can handle the entire transfer in a single guided process. For example, after moving your files you may also want to review how to take a screenshot on Mac since many users customize shortcuts again after migrating systems.
This guide explains how Migration Assistant works, when to use it, and how to transfer your data safely.
What Is Apple Migration Assistant and How Does It Work?
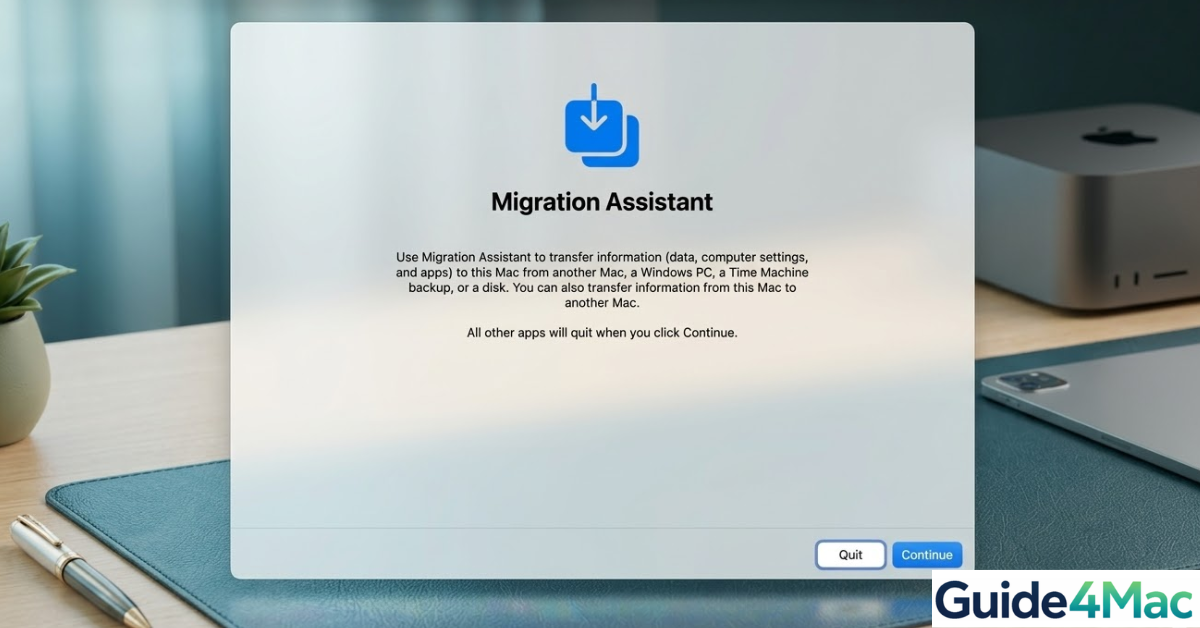
Migration Assistant is a built-in macOS tool designed to transfer data between computers or from backups. It copies essential data such as user accounts, applications, documents, and system preferences to a new Mac.
The tool supports several migration sources:
- Another Mac computer
- A Windows PC
- A Time Machine backup
- A startup disk or external drive
It works on both Intel-based Macs and Apple Silicon devices powered by chips such as M1, M2, M3, and M4. The transfer can occur over Wi-Fi, Ethernet, or through a direct cable connection for faster speeds.
Prepare Both Computers Before Migrating
Before running Migration Assistant, make sure both computers are ready for the transfer. Proper preparation prevents errors and speeds up the process.
- Connect both computers to power adapters.
- Update both machines to the latest macOS version available.
- Connect them to the same Wi-Fi network.
- Disable sleep mode during the transfer.
- Close any open applications.
If you plan to migrate from an older Mac with limited storage, you may also want to check guides about fixing large System Data storage on macOS before transferring unnecessary files.
Transfer Data From One Mac to Another:
Total Time: 30 – 90 Minutes (depending on data size)
- Preparation (The Guide4Mac Pro Step)
Before starting, ensure a smooth transfer:
1. On the Old Mac, open Disk Utility, select your Startup Disk, and run First Aid.
2. Make sure both Macs are near each other and connected to the same Wi-Fi, or better yet, connected via a Thunderbolt cable.
3. Disable any third-party antivirus or firewalls on both machines. - On Your New Mac
1. Open Migration Assistant (found in Applications > Utilities).
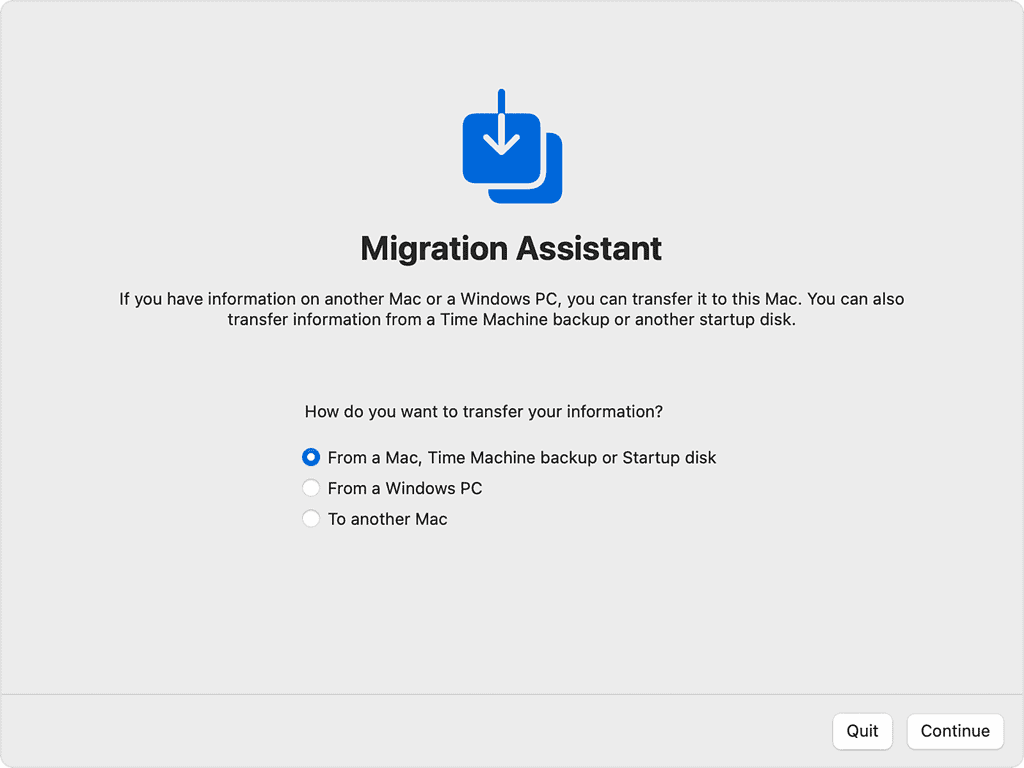
2. Click Continue. When asked how you want to transfer your information, select “From a Mac, Time Machine backup, or startup disk.”
3. Click Continue. - On Your Old Mac
1. Open Migration Assistant.
2. Click Continue.
3. When asked, select the option to transfer “To another Mac.”
4. Click Continue. - The Handshake
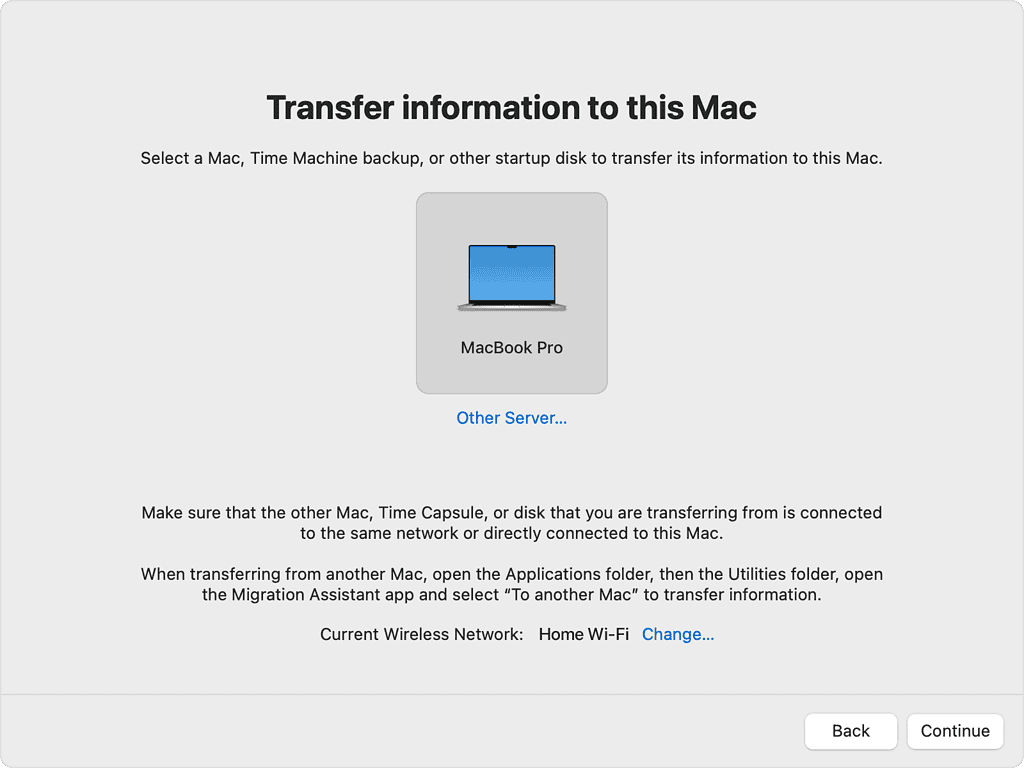
1. On the New Mac, select the old Mac (or Time Machine drive) from the list of available sources.
2. A security code will appear on both screens. Ensure they match and click Continue on the old Mac.
3. On the New Mac, select the information you want to transfer (Applications, User Accounts, Files, Settings).
4. Click Continue to start the transfer. Do not close the lids or sleep the computers until finished.
The transfer may take anywhere from a few minutes to several hours depending on file size and connection speed.
Transfer Data From a Time Machine Backup
Migration Assistant also allows you to restore files from a Time Machine backup stored on an external drive.
- Connect the Time Machine backup drive to your Mac.
- Open Migration Assistant.
- Choose From a Mac, Time Machine backup, or startup disk.
- Select the backup disk.
- Choose the backup date you want to restore.
- Select the files, applications, and accounts to migrate.
- Click Continue.
This method is helpful if your previous Mac is no longer available but you still have a backup.
Transfer Data From a Windows PC
Migration Assistant can also move files from a Windows computer to macOS. Apple provides a Windows version of the Migration Assistant app to enable the process.
- Install Windows Migration Assistant on your PC.
- Open Migration Assistant on your Mac.
- Connect both computers to the same Wi-Fi network (or use Ethernet).
- Choose From a Windows PC.
- Select your PC from the list of available computers.
- Enter the verification code shown on your Mac.
- Choose the files and folders to transfer.
- Start the migration.
This method typically transfers documents, photos, contacts, and browser data.
What Data Migration Assistant Transfers
Migration Assistant can copy a wide range of information to your new Mac.
This includes:
- User accounts and login information
- Documents and desktop files
- Applications and utilities
- System preferences and settings
- Photos, music, and media libraries
- Email accounts and contacts
However, some apps may require reactivation after migration, especially software that uses license keys.
When You Should Use Migration Assistant
Migration Assistant is useful in several scenarios.
You should use it when:
- Setting up a new Mac computer
- Replacing an older Mac
- Restoring a Mac after a system reinstall
- Recovering files from a Time Machine backup
It saves time compared to manually copying files through Finder or external storage devices.
Tips
- Use a Thunderbolt or Ethernet cable for faster transfers.
- Avoid using the Mac during migration to prevent errors.
- Disable FileVault encryption temporarily if transfers fail.
- Keep both computers connected to power throughout the process.
- Verify transferred apps after migration.
Move Everything to Your New Mac Easily
Apple Migration Assistant remains one of the easiest ways to transfer your entire digital environment to a new Mac. Instead of reinstalling apps and copying files manually, the tool recreates your accounts, settings, and documents automatically.
Whether you are upgrading hardware or restoring from backup, Migration Assistant simplifies the process and ensures nothing important gets left behind.
Key Takeaways
Apple Migration Assistant transfers files, applications, and system settings from another computer or backup to a new Mac. It supports transfers from Macs, Windows PCs, and Time Machine backups. The process requires both devices to run Migration Assistant and confirm a security code before selecting the data to move. This tool helps users quickly set up a new Mac without manually copying files.
FAQs
Yes. Migration Assistant is built into macOS and available on all modern Mac computers.
Yes. You can run Migration Assistant at any time from the Applications → Utilities folder.
Yes, most applications are transferred. Some may require login or license activation again.
The duration depends on file size and connection speed. Transfers can take from minutes to several hours.
Yes. Apple provides a Windows Migration Assistant tool that enables file transfers from Windows PCs to macOS.

0 Comments