How to Downgrade from iOS 26 to iOS 18 (Proven Methods That Actually Work)
If your iPhone suddenly feels slower, apps crash, or battery life dropped after updating to iOS 26, here’s the truth: thousands of users downgrade within days—and it works when done correctly.
This guide doesn’t just explain theory. It shows proven, working solutions step-by-step, so you can safely go back to iOS 18 without guesswork.
1. Restore iOS 18 using Finder or iTunes (official Apple method)
Time needed: 40 minutes
This is the most reliable and Apple-approved method to downgrade iOS. It completely reinstalls iOS 18 using a firmware file.
- Check if downgrade is still possible
Go to Safari → search “iOS signing status” → open a signing website → confirm iOS 18 is still signed
- Back up your iPhone properly
· Open Settings → tap your name → iCloud → iCloud Backup → Back Up Now
· Or connect to Mac → open Finder → select your iPhone → click “Back Up Now”
TIP: Make sure your Apple ID works correctly before starting the back up.
- Turn off Find My iPhone (critical step)
Open Settings → tap your name → Find My → Find My iPhone → toggle OFF → enter Apple ID password
- Download the correct iOS 18 file (IPSW)
Open Safari → search “Download iOS 18 IPSW” → choose your exact iPhone model → download file to your computer
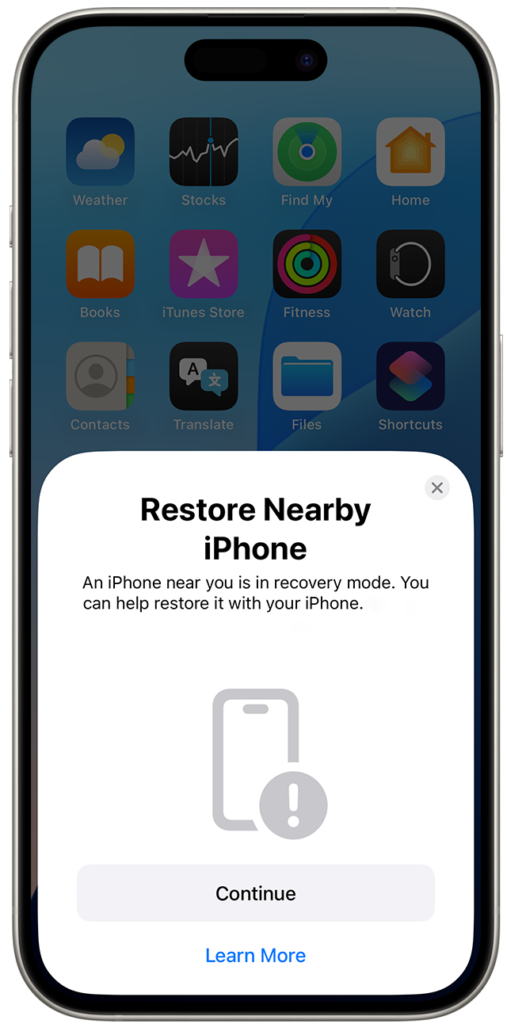
- Connect iPhone and enter Recovery Mode
· Plug iPhone into Mac/PC
· Press Volume Up → Volume Down → hold Side button
· Release when you see the cable + laptop screen - Restore iOS 18 using Finder or iTunes
· On Mac: open Finder → select your iPhone (left sidebar)
· On Windows: open iTunes → click device icon
· Hold Option (Mac) or Shift (Windows) → click Restore iPhone
· Select the IPSW file you downloaded - Set up your iPhone after downgrade
· Choose Set Up as New OR
· Restore an older backup (not from iOS 26)

2. Stop iOS 26 beta updates (useful if you installed beta)
You can also stop the update to happen automatically, with the next steps you can removes beta updates so your device won’t keep installing unstable versions.
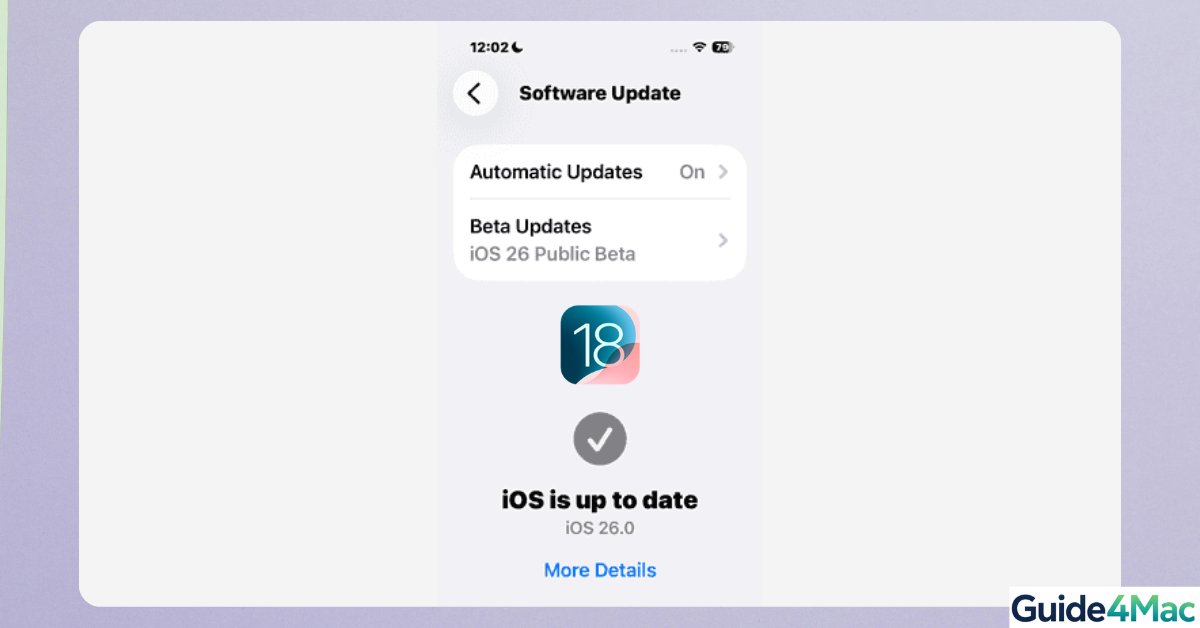
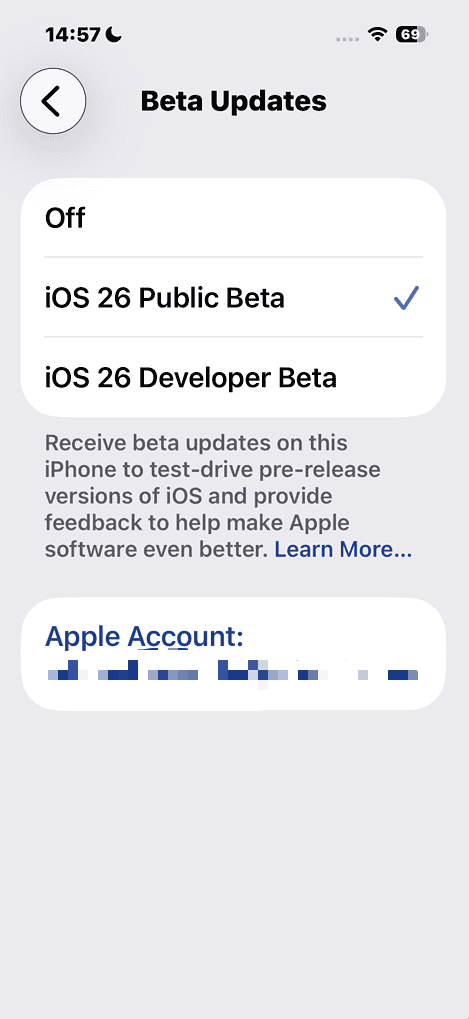
- Open Settings → General → Software Update
- Tap Beta Updates → select “Off”
- Go back → your iPhone will stay on the current version until a stable iOS release
3. Use third-party tools (simpler interface for beginners)
Sometimes using external apps can be a valide solution if you are not a tech master. These tools automate firmware selection and reduce manual errors.
- Install the software → open it on your Mac or PC
- Connect iPhone → wait until detected
- Click Downgrade iOS / System Repair
- Select iOS 18 firmware → download it
- Click Start Downgrade → wait until finished
4. Clean restore (best if you want zero errors)
It avoids backup conflicts, which are the main cause of downgrade failures.
- Follow Solution 1 to install iOS 18
- When setup screen appears → tap Set Up as New iPhone
- Sign in → re-add apps and accounts
5. Fix downgrade errors (so the process doesn’t fail)
Most downgrade failures come from predictable issues—you can fix them quickly.
Common issues + exact fixes:
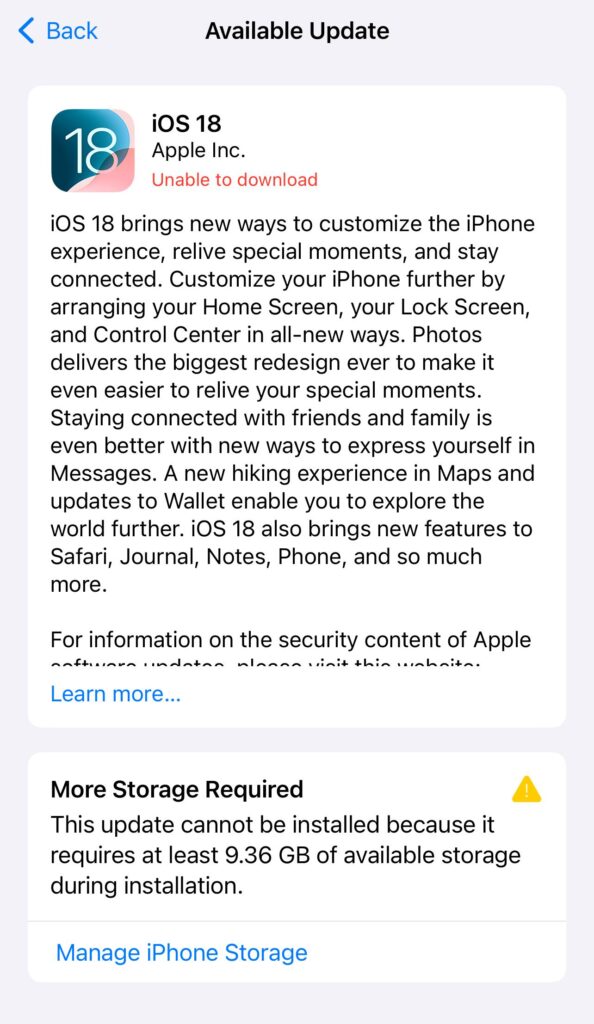
- iOS 18 won’t install → Apple stopped signing it → no workaround
- Error 3194 in iTunes → Use correct IPSW + update Finder/iTunes + retry
- Stuck on recovery mode screen → Press Volume Up → Volume Down → hold Side button → restart
- Backup won’t restore:
→ Use older backup OR set up as new
→ If Mail stops syncing after downgrade: you can manually sync your Gmail or iCloud - Account or password errors → Re-enter credentials or update password
Tips to make the downgrade succeed (and avoid repeating it)
They eliminate the most common causes of failure before they happen.
- Start downgrade within a few days of updating
- Keep at least one older backup
- Use original Apple cable
- Charge your iPhone above 60%
- Confirm Apple ID access before starting
FAQs (People Also Ask)
No — you need Finder (Mac) or iTunes (Windows).
Yes, unless you restore from a compatible backup.
Apple stopped signing it.
No, if you follow official steps(Method 1).
Yes, by updating again through Settings.
Using Finder or iTunes with IPSW firmware.
0 Comments